Designing and Building Custom Speakers
Preface#
A few months ago I was learning how to use FreeCAD after hearing about UI/UX improvements — it’s gotten a lot better — and I stumbled upon the world of 3D printed speaker enclosures. I was fascinated by the creations showcased on the HexiBase YouTube channel. 1
Around the same time I began acquiring and making gifts for my immediate family and struggled to decide on a gift for my brother. I foolishly decided that building my brother a pair of speakers would be a fun project.
Drivers#
I chose a pair of 3" full range drivers from AIYIMA on Aliexpress. The choice was based on three factors:
- They advertised a decent looking frequency response curve 2
- I think they look nice
- They were quite affordable
Once they arrived my excitement was dampened by their very apparent lack of low frequency response. Thankfully that’s what the enclosure is going to help us solve.
First prototype: Lessons in finding out#
I started by designing a 3L volume — as indicated by AIYIAMA — created an arbitrary rectangular opening for the reflex port and calculated3 the length needed for my chosen resonant frequency of 100Hz. After some very amateur hour finagling I got a parametrically valid 3D object.


Learning from wasted multi hour prints I first did a test fit to verify tolerances.

Bolstered by my success I printed a full front baffle.

And to my surprise there was already a noticeable improvement to the sound quality!
Again encouraged by my success I went on to print the rest of the speaker as a single unit with no alignment pegs.

After much pain I managed to remove all the internal supports without catastrophic damage to the port. 4
Thankfully it was worth it as the sound was much improved!
After building a second one and stacking them on top of each other I realized that the sound would be much improved if the reflex port was facing the listener.

Version 2: The pretty one#
Enriched by the teachings of the first prototype. 5 I decided to start from scratch and model it in a more modular way by putting most values that were to be used in multiple places or modified/tweaked in a VarSet. The project file can be downloaded here if you’re interested in recreating all or part of the project.


To print them properly I needed to cut the enclosure within orca slicer in three pieces to limit the amount of supports and maximize the print quality. Orca slicer allows you to add alignment pegs when cutting a model which made it much easier to line up when gluing up the enclosure.

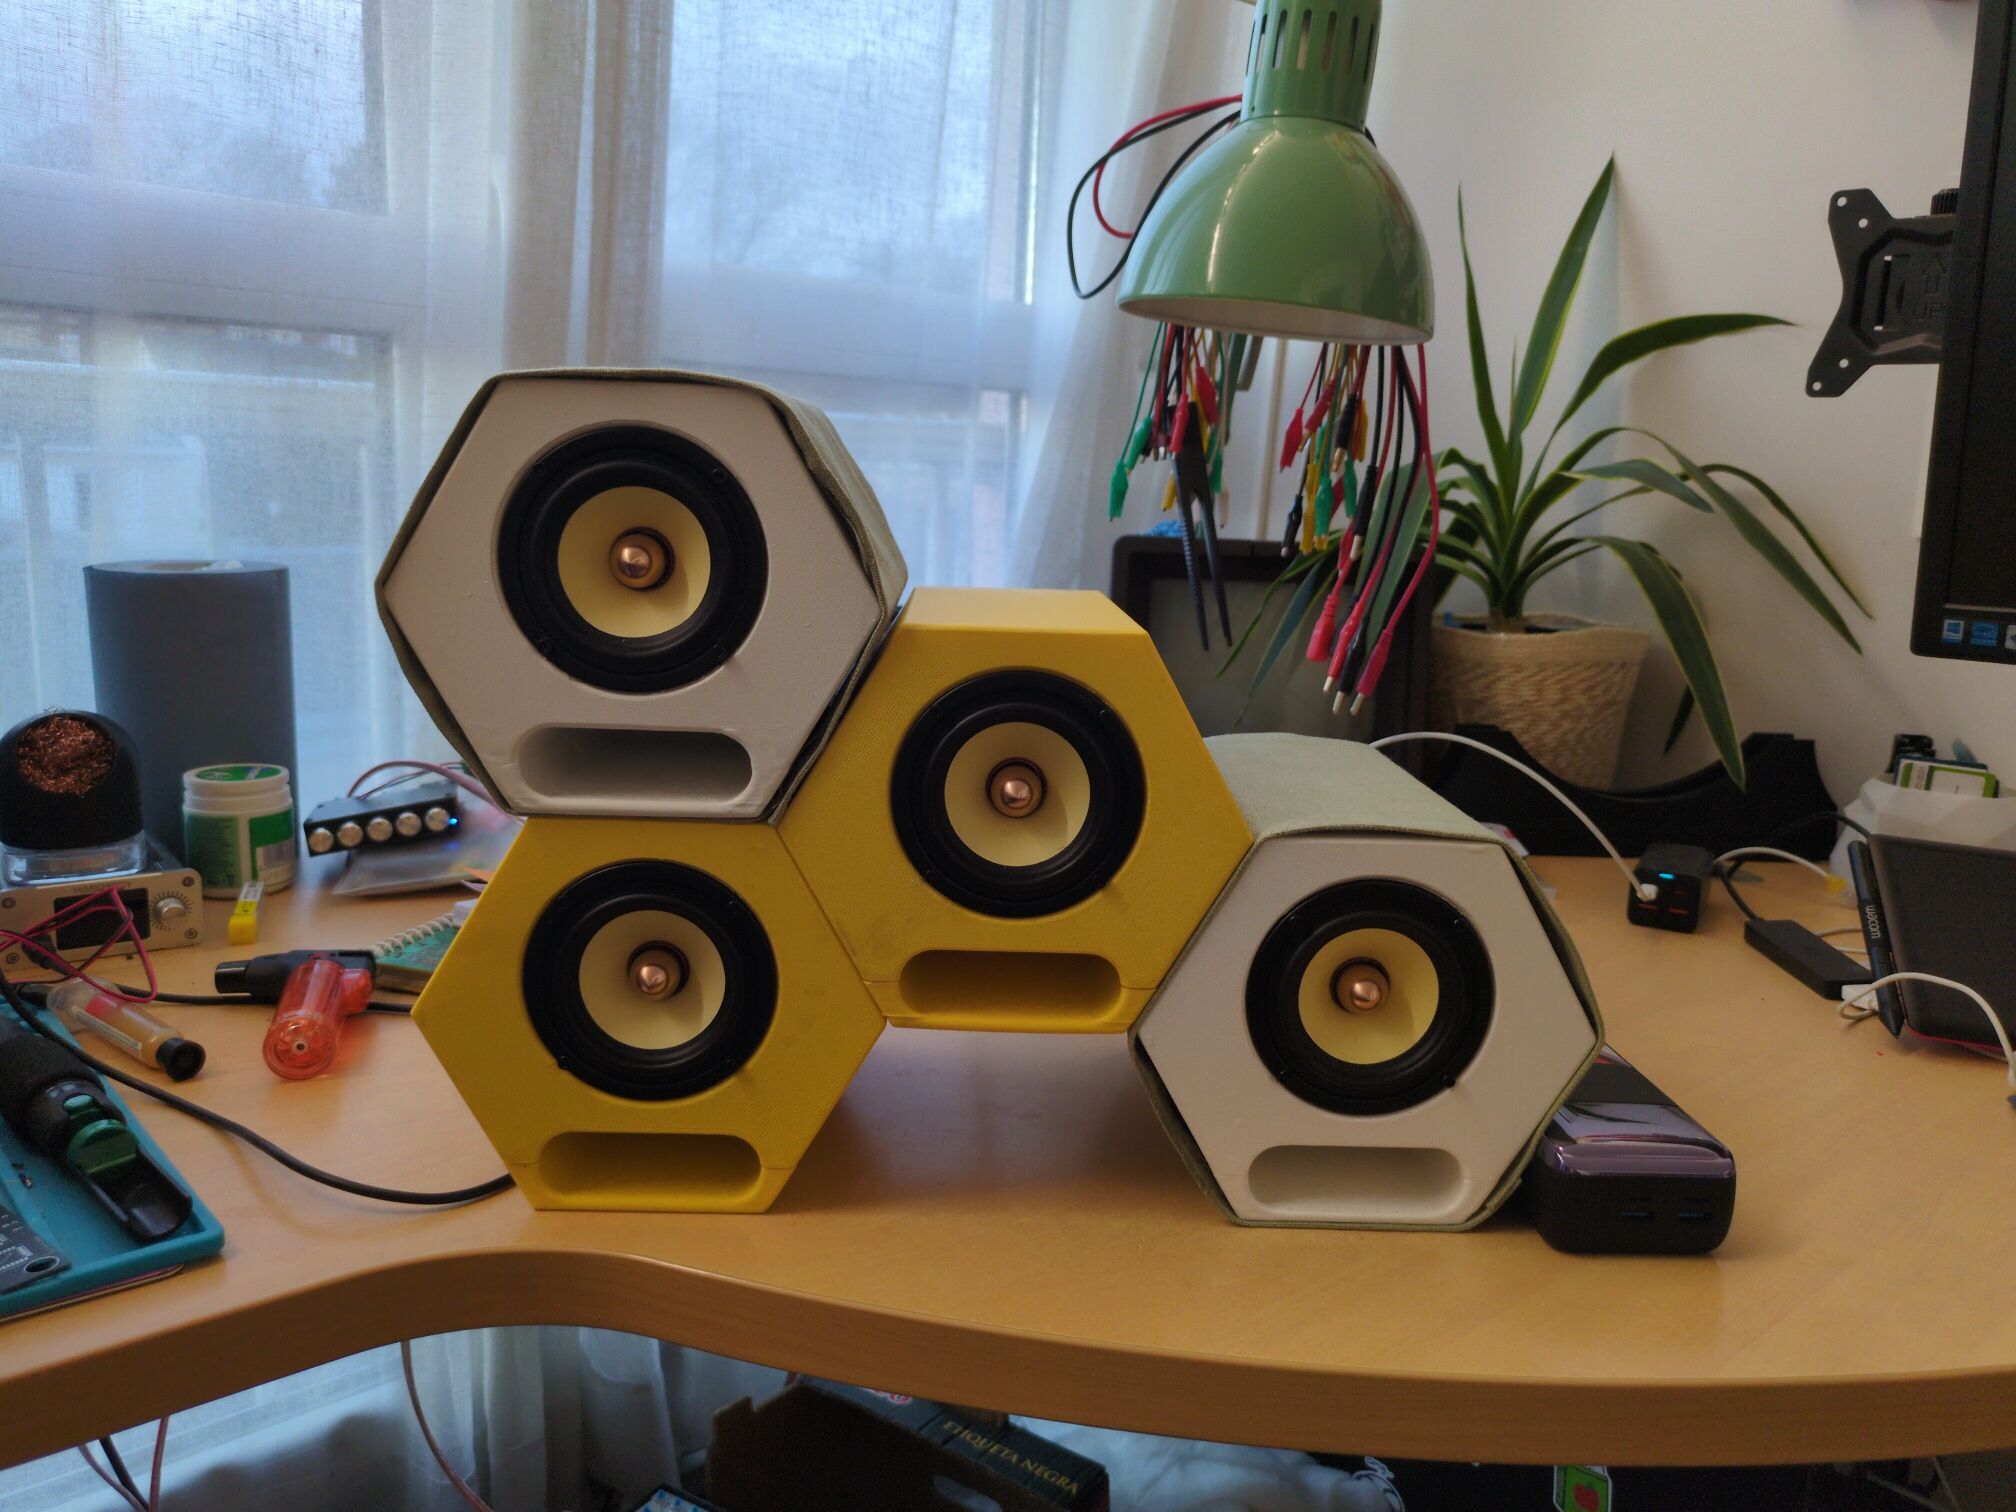
Once printed I thought that the enclosures would look much neater wrapped in some fabric. I had to chose between yellow and desaturated green. I personally prefer yellow but was unsure it would fit my brother’s aesthetic. I eventually decided that spoiling the surprise was better than having a worse result and asked him.

After relatively minimal pain I was able to glue the fabric to the speakers without glue showing through. (I decided to make myself a pair of speakers because I was proud of the result)

The final result:

-
I also found his website. ↩︎
-
I may check it if I find the time since I was offered access to test equipment. ↩︎
-
Used an online dedicated calculator that only accepted inches and converted units back and forth with qalc. Not my proudest moment. ↩︎
-
I can’t say the same for my hands. ;-; ↩︎
-
Front towards
enemylistener, massive cube is ugly and acoustically disadvantageous. And a lot of FreeCAD ↩︎